Jams and Jellies are one of the simplest ways to preserve fruit as well as some vegetables. Almost any fruit is ripe for making a jam or jelly and the good thing about it is you don’t need a lot of equipment or supplies to get started. You can make store quality jams and jellies, if not better right in your own kitchen.
In this post we are going to cover the basic equipment you will need to make pretty much any jam or jelly. First of all though just what is the difference between a jam and a Jelly.
Table of Contents
The Difference Between Jam vs. Jelly
Essentially jams and jellies appear very similar, in fact, they both go through the same cooking process. The one key difference between the two, however, is the fruit content of each.
Let us take strawberry jam as an example:
Strawberry jam contains all the fruit, which often includes the skins, pulp and seeds. This is why jams tend to have a coarser texture than jellies.
Whereas jellies are strained to remove the seeds and skins and often results in a clear jelly because it is primarily the fruit juice which is being preserved.
Both jam and jelly are set to reach the consistency we are familiar with. Pectin which is found in all fruit at various concentrations reacts with sugar and acid in the fruit to make it set. Occasionally, if the fruit is low in pectin, pectin needs to be added. Either by adding some lemon juice or a purpose made liquid pectin.
Sugar: The Key To Preserving Fruit In Jam and Jelly
A jar of jam has a long shelf life, fruit can be preserved in this way for 1 – 2 years if left unopened. This means you can enjoy a fruit harvest the whole year round rather than just a few weeks after the fruit is picked.
The way sugar preserves is to do with the way it reacts with water. Fruit or vegetables are spoiled either by bacteria, yeast, moulds or enzymes. All of these factors need moisture to occur. Sugar is hygroscopic which means it attracts water. Sugar both in solid form and in solution has an osmotic effect on food which means it draws all the water out of it.
Bacteria, yeast and mould all require moisture to survive and reproduce and sugar along with cooking reduces the water content in the fruit to a point where microorganisms cannot grow. This same means of preservation is seen with salt, which also works by drawing moisture out of the food.
Jam Making Basics
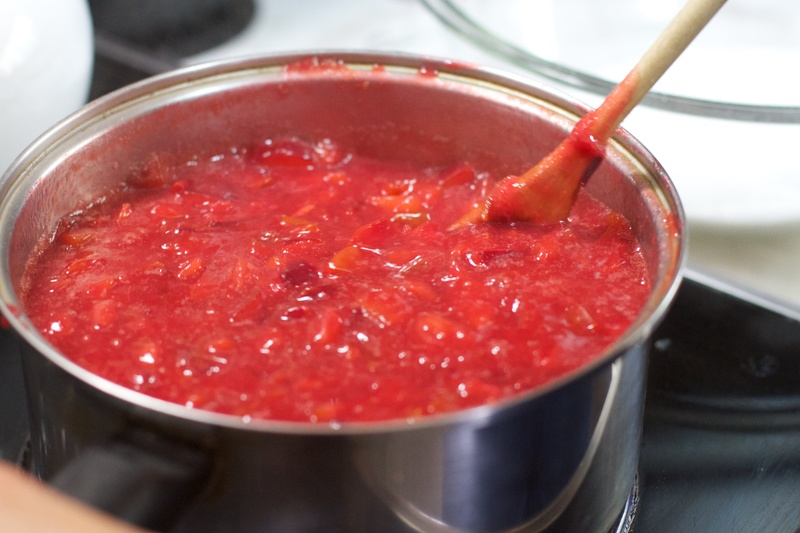
The Jam making process for almost any fruit goes like this;
1. The prepared fruit/vegetables are cut up and simmered in a pan for around 20 – 30 minutes to break down the fruit and release the juices.
2. Preserving sugar is added and stirred thoroughly to dissolve over a medium heat to prevent scorching. Once incorporated the jam is brought to a rapid, rolling boil.
3. After boiling for a further 20- 30 minutes the setting point (around 105°C / 220°F) is reached and the jam can be packaged into sanitised jars.
Jelly Making Basics
Jelly follows a very similar process with the addition of one step.
1. After the fruit is broken down by simmering for around 20 – 30 minutes the fruit is separated from the juice by straining.
2. The fruit pulp is added to a straining bag and left to strain so that only the juice is left. The sugar is then added to juice which is boiled until the setting point is reached (around 105°C / 220°F).
3. The jelly is then packaged into sanitised jars and sealed whilst still hot.
The Equipment And Supplies Needed For Jam or Jelly Making
Now we know a little bit about jam and jelly what do we need to start making it. Really there is not much that is needed and many people will have a lot of the necessary equipment already. There are some tools however that make, making preserves a lot easier so let’s take a look.
Preserving Pan
A preserving pan is a large, wide pan with a heavy bottom. Most large pans will do the job but the key things you want in a pan are:
A wide opening this allows more of the water to evaporate out of the fruit and get the temperature to the jam setting point a lot quicker than a pan with a medium opening.
The heavy bottom spreads out the heat so the sugar doesn’t scorch on the bottom of the pan.
The capacity of the pan is another important factor. When making jams the amount of fruit you need takes up a lot of space so the larger the capacity the more jam or fruit you can process in one go.
Jam Jars
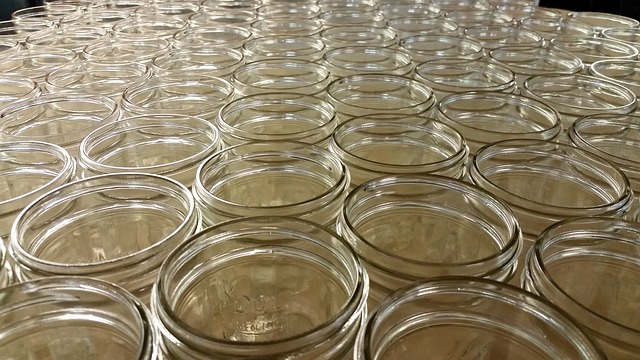
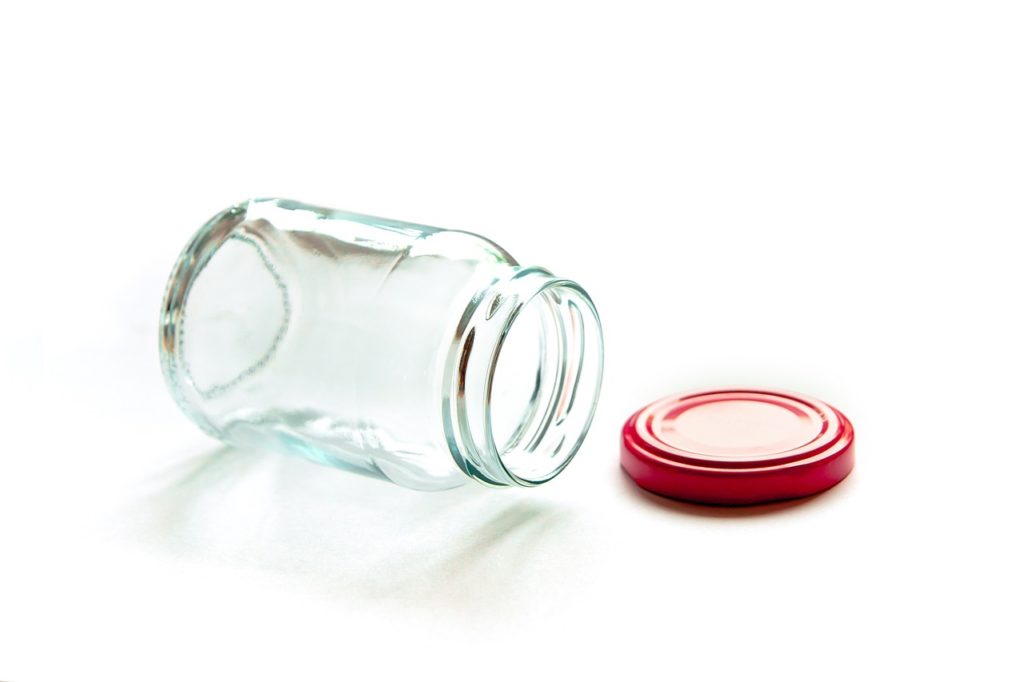
Of course, you will need jars to store your jams and jellies in. You can reuse jars so if you need a few then buying a set means everything will match. You can also reuse store bought jars as long as the lids can still maintain a seal.
Preserving / Jam Thermometer
You don’t necessarily need a jam thermometer but it does take all the guesswork out of knowing when the jam has reached the setting point. If you have ever had a problem with jam setting the easiest way to solve it is by using a thermometer. Once the jam has reached 105°C / 220°F you will know that enough water has been evaporated and the jam will set once it has been packaged and cooled in jars.
There are other methods like the spoon test or the saucer test which just require a spoon but there is some margin for error. A thermometer removes that margin for error.
Jam / Jelly Straining Bag
If you intend to make jellies then you will definitely need a jelly straining bag. A simple straining kit usually consists of a straining cloth on a tripod which can be set over a bowl or a preserving pan. The straining bag separates all the seeds and fibrous fruit material and leaves you with just the juice making a clear smooth jelly.
Jar Lifter
Jam and jellies, as well as other preserves like chutney, need to be packaged into sanitised jars when they are hot to form a proper airtight seal. The temperature of the jars makes handling them difficult, a jar lifter means you can handle jars in a hygienic way without burning yourself.
Jar Funnel
Not strictly necessary but makes life a whole lot easier when filling jars. I cannot do without my jar funnel since I got one and now make next to no mess when filling jars.


Very well explained and you take much of the mystery (and fear) out of this otherwise mysterious process. I can vouch for needing implements to lift the jars. To date, I’ve had one attempt at making apple chutney and burned my arm while trying to remove the jars from the boiling water using ordinary tongs.
I’m in interested in starting making jams and jelly
I need a metal strainer for raspberries and small berries with seeds…please
none of my sieves are right.
Kate
If you want to get rid of the pips in raspberries it sounds like a jelly is your best bet. Look for a jelly strainer and take a look at this guide on making jellies.
Hop this helps!
Another tool that I would consider a must-have for jam making is a food mill. It’s the perfect thing for keeping raspberry or blackberry seeds out of your final product, like Kate was asking about.
That’s a good point and definitely worthwhile when you preserve a lot of produce.
What is a food mill?
A food mill is like a sieve but with a rotating arm to push food through. See here.