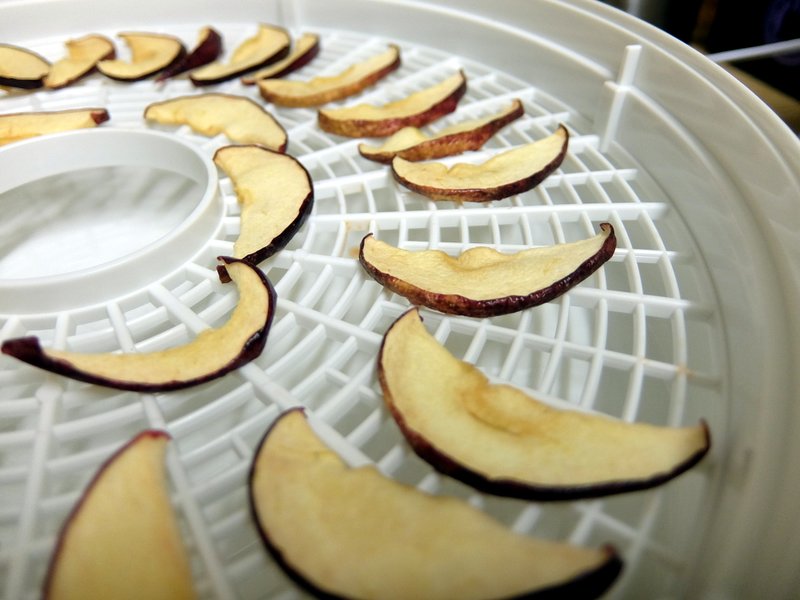
Dehydrating apples is really simple and they make a great snack. Drying apples concentrate the flavours and the sugars making them taste almost like sweets. There is no added sugar of course so they are just as healthy as eating a fresh apple.
You can use a food dehydrator or a regular fan oven to dry apples and I will go into both methods below.
Table of Contents
Preparing Apple For Drying
To ensure the apples dry evenly and don’t take forever to dry we want to slice them thinly but not too thin as they will get thinner after dehydrating.
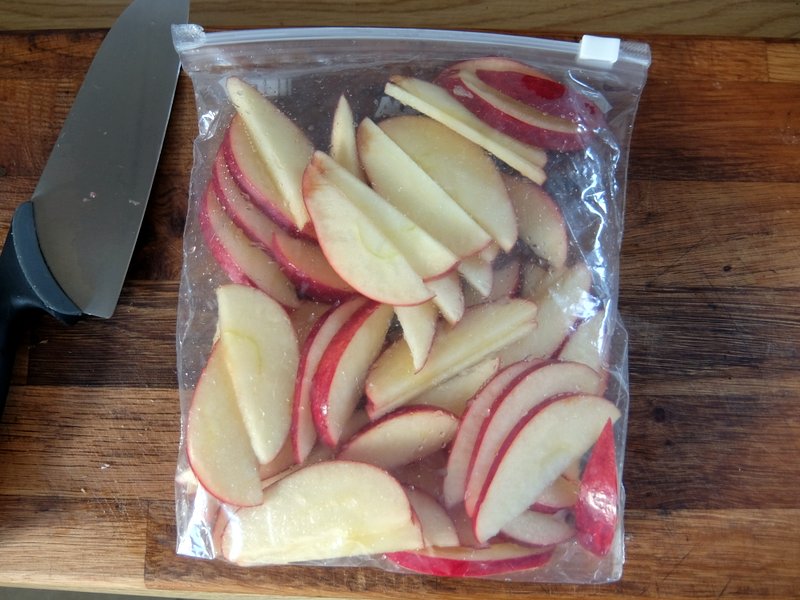
I core the apples and cut them on about 5mm thick slices. I leave the peel on but it is up to you if you want to peel the apples before slicing.
If you have ever prepared apples before you will know they have a habit of browning after they have been cut. This reaction occurs pretty quickly and although it won’t make the apples taste bad it is not really appetising. To combat this we want to prepare the apples for dehydrating so they don’t turn brown.
To do this we want to dunk the apple slices in acidulated water. This is basically water with lemon juice in it. The low pH keeps the apples from oxidising. I add all the apples to the lemon water in a bag and give them a good mix.
Dehydrating Apples Using A Food Dehydrator
Using a food dehydrator is the easiest and most efficient way of drying apples. I routinely make a batch of apples using my dehydrator because I can set it and then leave it to do it’s thing without worrying about it.
Almost any dehydrator on the market, even the very cheapest budget dehydrators will be able to dehydrate apples or any other fruit you might want to preserve so if you plan on doing more than a couple of batches a year then a food dehydrator is the way to go.
The benefits of using a dedicated food dehydrator, rather than an oven are:
- Much bigger yields – the multiple trays in a food dehydrator mean you can fit more fruit in it.
- Quicker and uses less energy – A dehydrator is purpose made to dry foods. The fans and heat in combination are much more effective than other methods of drying.
- Consistency – Drying apples in a dehydrator will ensure each and every apple is dried exactly the same. Using other methods like an oven means fruit needs to be moved around to avoid hotspots.
I highly recommend buying a food dehydrator if you intend to dry more than a couple of batches of fruit in a year. A cheap entry level model is more than capable of doing the job and is relatively inexpensive for all that it can do.
Drying Apples In The Oven
If you don’t have a dehydrator then you can still dry apples in the oven, it just takes a little more work and time. This guide will explain a little more about dehydrating in an oven.
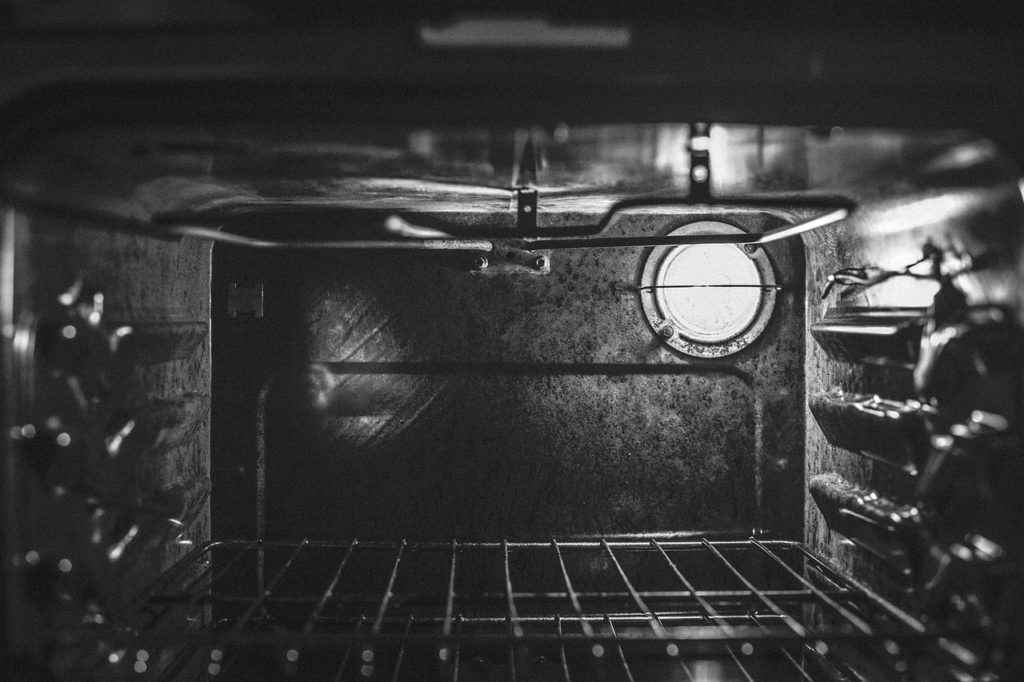
Most ovens are a little too hot to dry fruit without it browning or over drying so you will want to set the oven to the lowest temperature possible as well as leaving the door slightly ajar.
Having the door slightly ajar allows two things to happen. Heat to escape so the fruit doesn’t get too hot and cook rather than dry, as well as allowing air movement and ventilation. Air movement is vital to drying fruit effectively.
To dehydrate apples in the oven you will want to take the prepared apples on wire racks that will allow air to move around them. Arrange the racks in the oven set to the lowest temperature, with the door open by an inch or so. Leave the apple slices to dry in the oven for a couple of hours before moving around the trays to ensure consistent drying and ensure the apples don’t start cooking. Using this method it will usually take around 10 to 12 hours depending on the thickness of your apples to fully dehydrate.
How Long To Dehydrate Apples
If you are drying your apples in the oven it can be slightly more variable as to how long it will take because all ovens are slightly different. A rough estimate is it will take slightly longer at around 10 – 12 hours to fully dehydrate apples in the oven.
Dehydrating Apples
Dehydrating Apples In An Oven Or Dehydrator
A great way to preserve apples as a quick snack or to use later in sauces, pies etc.
Try grinding them in a spice grinder to create a really unique and vibrant powder to sprinkle on pastries, salads or sweets.
Ingredients
- Apples
- 2 Lemons
- 400ml Water
Instructions
- Prepare the apples by washing, coring and then cutting into slices about 5mm thick. You can peel the apples or leave the peel on should you wish.
- Juice the lemons and add to the water in a bowl. Put the apple slices in the lemon water until all the apples have been prepared.
- When all the apples are sliced and have soaked in the acidulated water for a moment take them out and pat dry with a paper towel.
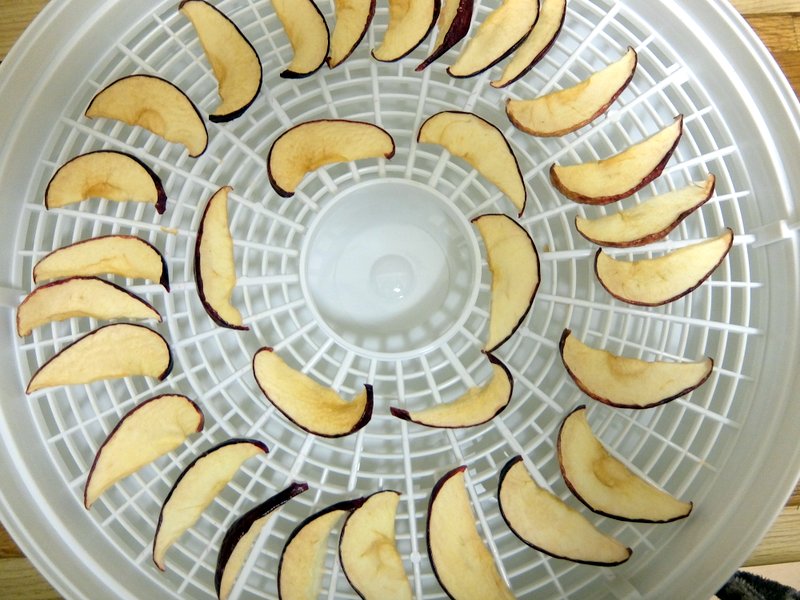
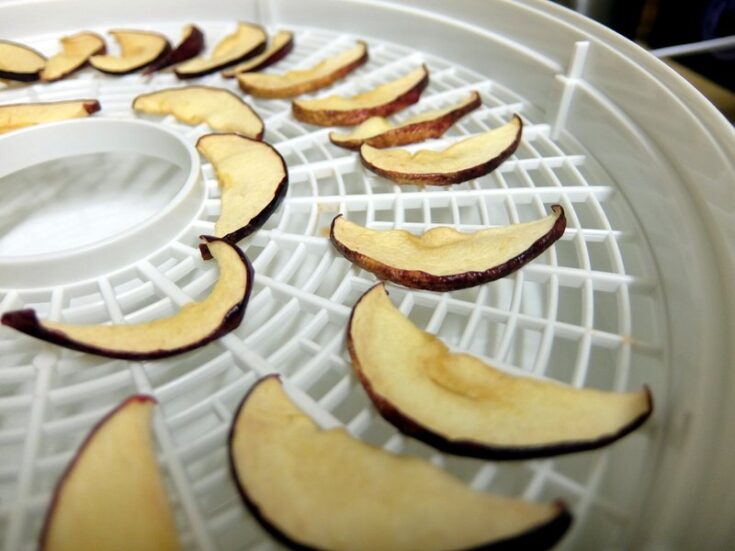
- Arrange the apples on the trays of a dehydrator or on racks if drying in the oven.
- If using a dehydrator assemble the trays and dry for around 6 hours before checking for dryness, it could take up to 8 hours.
- If drying in the oven set the oven to the lowest temperature and use the fan. Arrange the trays in the oven and keep the door slightly ajar. The apples will take around 10 hours to dry, check them regularly and rearrange the racks to ensure they dry evenly.
Recommended Products
As an Amazon Associate and member of other affiliate programs, I earn from qualifying purchases.
Nutrition Information:
Yield:
20Serving Size:
1Amount Per Serving: Calories: 7Total Fat: 0gSaturated Fat: 0gTrans Fat: 0gUnsaturated Fat: 0gCholesterol: 0mgSodium: 1mgCarbohydrates: 2gFiber: 0gSugar: 1gProtein: 0g
