Choosing a pressure canner can seem daunting, however, once you are familiar with how they work and the features they have it becomes a lot simpler. Pressure canning is the next step up from water bath canning and the processes are different.
To clear up some of the mystery surrounding pressure canners we are going to run through some of the features and considerations to make before you buy one.
A pressure canner is a simple device that seems to intimidate many new to canning.
In its most basic form, a pressure canner is a piece of equipment that allows you to process canned foods at temperatures higher than waters boiling point.
In water bath canning, jars can only be processed at 100°C / 212°F. In pressure canning the temperature in which we can process jars rises to around 115°C / 240°F. This means we can process foods that are lower in acids such as vegetables, meat, stock and fish and ensure they are safe.
Table of Contents
What Is A Pressure Canner?
A pressure canner is a large pot that has a locking lid. The pot is large enough to load with canning jars and then sealed, heated and the temperature under pressure is high enough to remove hard to kill microorganisms and bacteria that aren’t destroyed in normal water bath canning.
The key features of a pressure canner are:
- A locking lid to maintain pressure
- Pressure gauge
- Pressure vent
A Pressure Canner Is Not The Same As A Pressure Cooker
A pressure canner is not the same as a pressure cooker and cannot be used interchangeably. A pressure canner is larger in size to accommodate the jars with enough water to process them safely. A pressure cooker also has no pressure gauge which is necessary to maintain a consistent pressure for extended periods of time.
Pressure Canner Key Features
Most pressure canners on the market are pretty similar with only a few slight variations between different models. Let’s take a look at some of the features you might want to consider when buying a pressure canner.
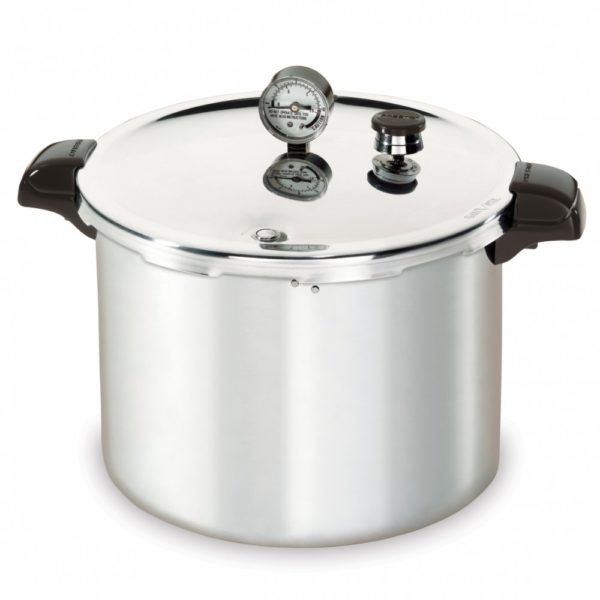
Pressure Canner Cover – Gasket or Screw Down Lid
The two different lids you will find on a pressure canner are either a lockdown lid with a rubber gasket or a metal-to-metal lid with locking wingnuts.
Lockdown Lid with Gasket
Pressure canners with a lock-on-cover usually have a rubber gasket between the lid and the pot itself forming an airtight seal.
The lid of these types of pressure canners usually rotates into place and marks on the pot and lid ensure the lid is securely fastened. Refer to manufacturers manual to ensure a proper seal for your pressure canner.
Most entry-level canners have this type of closure and they work great. The only downside is that the gasket needs removing and cleaning with each use and it will deteriorate over time.
If the gasket deteriorates and loses elasticity then a proper seal won’t be achieved and the gasket will need replacing before you can use the canner again. Manufactures almost always supply new gaskets at a relatively low cost so this is not a problem.
Screw Down Lid With Wingnuts
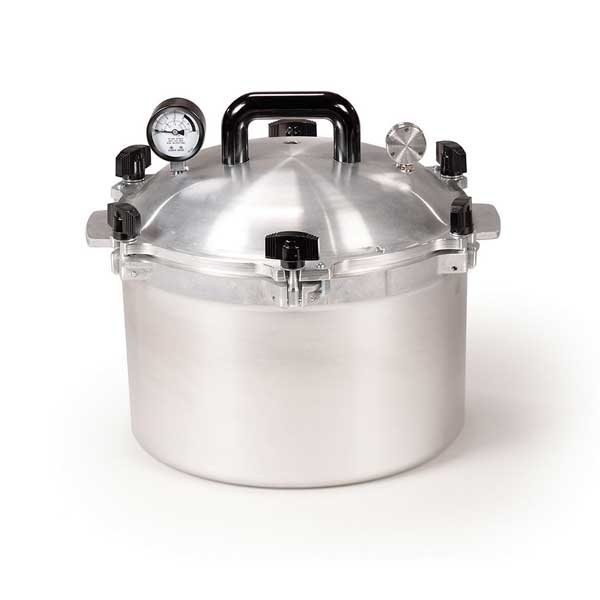
The other type of pressure canner has no rubber gasket but seal by being screwed down tightly.
A number of wingnuts around the outside of the pot are tightened and the lid forms a seal with the pot metal to metal. As there are no movable parts the seal should last indefinitely unless for some reason the pot or lid were to get damaged.
When tightening a screw-down lid on a pressure canner you want to tighten opposite sides to ensure the lid is pulled down evenly. Simply hand tightening is enough to create a seal so don’t be tempted to use a tool to do this.
Pressure Gauges
There are two main types of gauge you will want to look for when buying a pressure canner. The job of a pressure gauge is to monitor and help regulate the pressure within the canner. The pressure, of course, helps to achieve the temperature required to safely can the food.
Dial Gauge

A dial gauge is a simple watch face type of instrument with a hand that points to numbers denoting the pressure within the canner.
Unlike a weighted gauge, a dial gauge cannot control pressure within the canner. Using a dial gauge the pressure is controlled by lowering or increasing the burner under the pressure canner.
It is important with a dial gauge to ensure the gauge is accurate as this ensures there is enough pressure to make your canned foods safe. Most companies detail how to check the pressure gauge in their instructions. If the gauge is incorrect then they usually need replacing.
Weighted Gauge
Think of a weighted gauge as more of an automatic pressure regulator.
The weight acts as an automatic regulator by jiggling when the pressure gets high enough. In effect, you can be slightly more hands-off as there is a signal when the pressure reaches a certain point.
If the pressure gets too high the weight will jiggle faster to vent the excess steam and pressure.
There are usually 3 settings on a weighted gauge of 5, 10, 15 which relates to PSI or pounds per square inch. Your canning recipe should state a pressure to use and the most common is 10 psi.
Vent Pipe
In the lid of your pressure canner, there will be a vent. The vent is a small opening that allows exactly that to happen, vent excess pressure and steam.
Some pressure canners the vent will be where the weight gauge will be situated. The vent will automatically blow off steam if the pressure rises above 15 psi
Overpressure Plug
The overpressure plug which often just looks like a black piece of rubber acts as a safety precaution.
In the event of the vent pipe becoming obstructed the overpressure plug will pop out and allow the steam and pressure build-up to be released safely.
Pressure Canner Racks
A pressure canner should come supplied with racks that sit in the bottom of the pot. These racks are for you to sit the jars on top of which allows space between the bottom of the canner and the heat source, ensuring even heating and circulation.
Some pressure canners will have multiple racks allowing certain size jars to be stacked in two layers.
What Else You’ll Need To Start Pressure Canning

The other thing you will need along with your pressure canner is the actual jars themselves, these consist of:
- Mason Jars
- Lids & Screw Rings
Ordinary mason jars are all that are needed either with regular openings or wide-mouth openings.
The lids come in two parts, a flat metal disk with a sealing compound on one side and a screw ring to secure it to the jar.
The flat lids are to be used only once before being discarded, whilst the screw rings can be used multiple times.
Pressure Canning Process
The actual process of pressure canning is fairly straightforward. For individual models, you should consult the instruction manual that comes with your pressure canner.
Step 1: Prepare Your Equipment & Pressure Canner
Get everything you need together and ensure everything is clean. This includes all parts of the pressure canner such as vents and gaskets.
Wash your jars and lids thoroughly and set them in hot water but not boiling. Leave them in the water until you are ready to fill.
Add the specified amount of water to your canner (it should state this in the instruction manual), it is usually around 2 or 3 inches. Fit the rack in the bottom of the pressure canner and heat but do not boil.
Step 2: Prepare Food & Fill Jars
Prepare your food to go into the jars exactly according to your recipe.
Take the jars out of the hot water with tongs and begin to fill. The jars need to be filled snuggly without overfilling so enough water can circulate around the food.
Fill with cooking water or boiling water to cover the food and leave the amount of headspace as stated in your recipe. Remove any air bubbles and wipe any spillages from the outside of the jar.
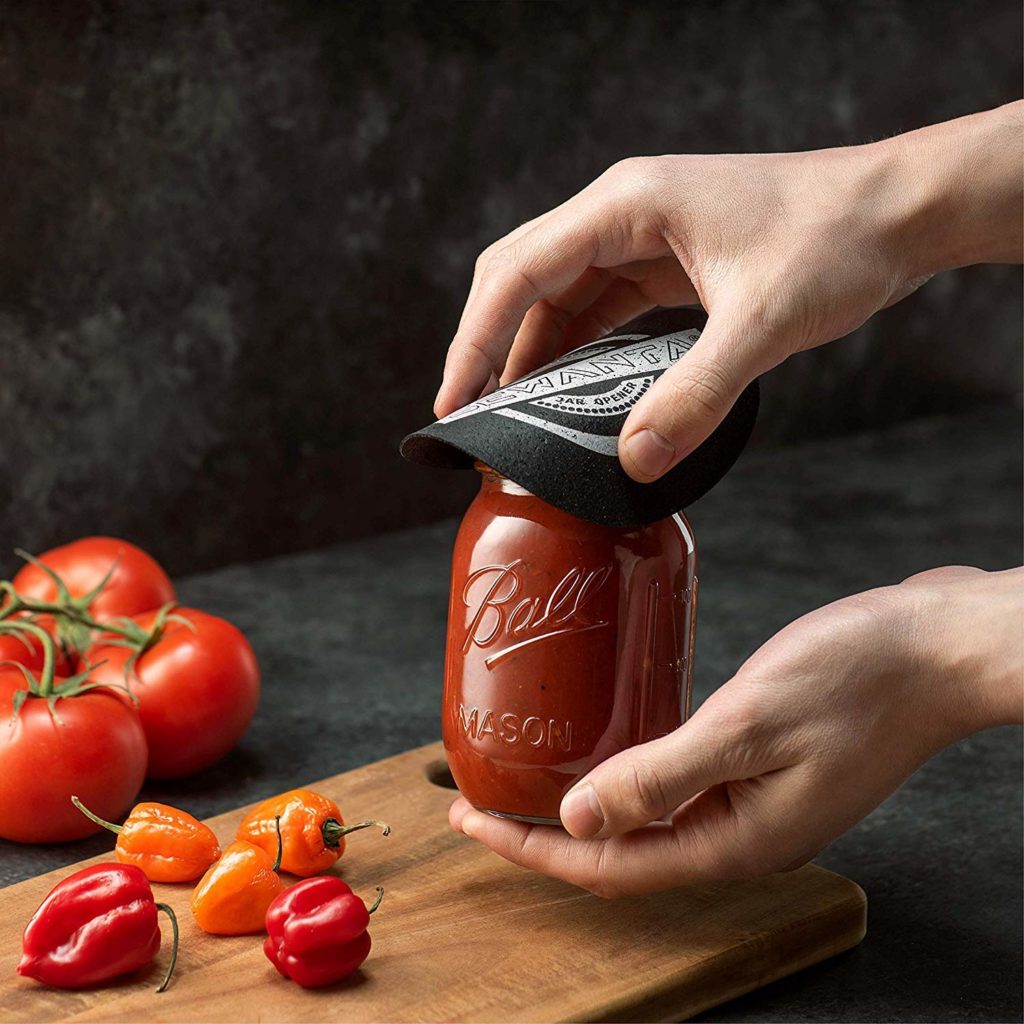
Secure the lid with the seal and screw on the ring without overtightening.
Only fill enough jars as you are able to process in one go.
Step 3: Place In The Pressure Canner
Place the filled, sealed jars in the rack inside the pressure canner. Do not place directly on the bottom of the pressure canner as the jars may break.
Only fill and place enough jars in the canner as the manufacturer instructions state. Overfilling the canner can result in the food not being processed correctly.
Step 4: Closing The Pressure Canner and Processing
Seal the pressure canner with the jars inside according to the manufacturer instructions. A proper seal ensures enough pressure can build up to reach the temperatures required for canning.
Bring the temperature up on the pressure canner. Allow the steam to escape the vent for 10 minutes or the time stated in your manual.
Close the vent to increase the pressure, once pressure has been achieved process the jars for the length of time stated in your recipe. Maintain the correct pressure throughout processing by maintaining the heat.
After the time stated in your recipe remove the pressure canner form the heat and allow to cool naturally. The pressure should drop-down back to zero after 30 minutes or an hour.
Step 5: Cool Jars & Check Seals Before Storing
Ensuring the pressure canner is cooled and the pressure has dropped to zero you can release the lid. Always follow the manual when doing this as different canners have different methods.
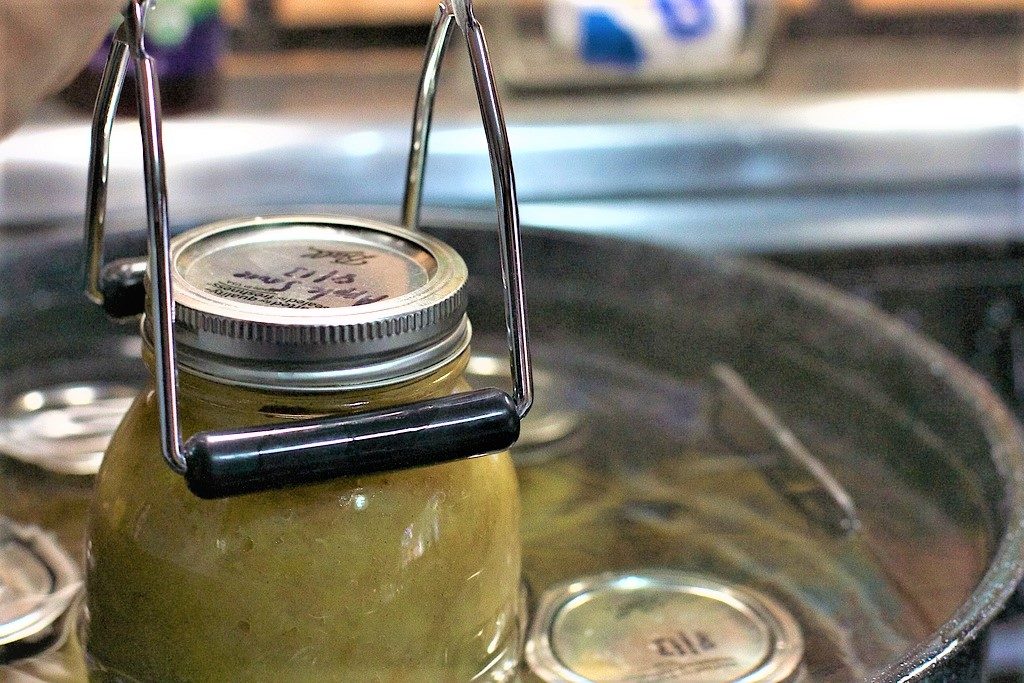
Lift out the jars with tongs as they will still be hot. Allow the jars to cool completely which may take quite a while you should hear some clicking and pinging as a vacuum is formed in the headspace of the jar.
Once completely cool push the lids of the jar, there should be no give or indentation in the lid which should feel solid.
The screw bands can be removed and used again should you wish as the seal has been formed with the lid.
Considerations When Buying A Pressure Canner
There are really a couple of things you want to consider when buying a pressure canner so let’s cover some of the most important things to think about before parting with your money.
Pressure Canner Size
Depending on how much and how often you will want to can food you need to think about the capacity of the canner you buy.
If you are canning regularly and you have large amounts of produce that need preserving then of course buying a larger pressure canner will make the most sense.
Most entry-level pressure canners have adequate capacity and will accommodate 6 or 7 jars pint jars with ease with some being able to accommodate half-pint jars on top of these.
Pressure Canner Weight
The other thing you will want to be sure of is the weight of the pressure canner. This is more of a problem if you have mobility issues.
Pressure canners are heavy, they are built to withstand pressure and you have to not only consider the weight of the pressure canner itself but the jars, water and food you are canning when it is loaded.
If you have a glass stovetop then you need to know the rating as too heavy a load could risk cracking the glass stovetop.
