Sweet, salty and tart combine in these addictive pickled cucumbers. These pickles are great on top of burgers, with bread, butter and cheese or served with cold meats.
The origins of the name bread and butter pickle isn’t completely agreed upon. There are sources that say the name come about because at some point the pickle was as common as bread and butter. Other sources suggest that when people had little else to eat but plenty of cucumbers, they made do with just pickled cucumber sandwiches, the sweet pickled cucumber staved off hunger in a time when there was not much else to eat.
No matter the origin, bread and butter pickles are one of my favourites. A simple ham and cheese sandwich is transformed into something extra special. The combination of sweet and tart in these pickles may divide opinion but the beauty of making anything yourself is you can adjust the amount of sweetness.
If you aren’t particularly fond of sweet pickles simple reduce the amount of sugar in the recipe. The preservative effect of the vinegar is what increases the shelf life of these pickles which you can keep for months.
These bread and butter pickles use vinegar as a preservative and the ingredients are heated before being sealed in sanitised jars. This means there is no canning involved which means that making these pickles is really simple.
Table of Contents
How Bread & Butter Pickles Are Made
There are three stages to making bread and butter pickles:
First of all, salt is added to the sliced cucumbers. This draws out a lot of the moisture in the cucumber which is full of water. This is desirable as the moisture within the cucumber dilutes the vinegar which we are using to preserve them. It also means that the cucumber stays crisp and has bite still after being pickled.
Secondly, the cucumbers are blanched in a vinegar solution. This quick blanch destroys the enzymes within the cucumbers which would deteriorate and spoil the vegetables otherwise. At the same time boiling the vinegar, we can add flavours and spices at the same time to add more depth of flavour to the finished pickle.
The bread and butter pickles are then packed into a sanitised jars and sealed whilst still hot. This method of sealing creates a vacuum in the jar and prevents the pickles from becoming oxidised which would spoil the pickles.
Recommended Pickling Equipment
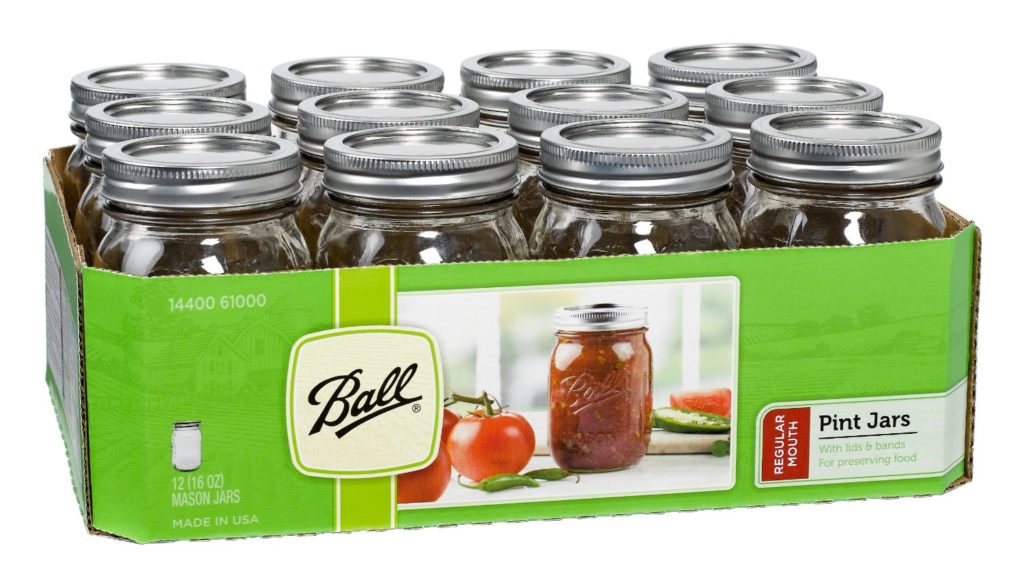
Jars: Simple mason jars are good enough and can be reused many times.
Preserving pan: A pan with a thick bottom that is large enough for all your ingredients
Preserve Funnel: Not strictly necessary but makes packing your pickles into jars so much easier.
Bread And Butter Pickle Recipe
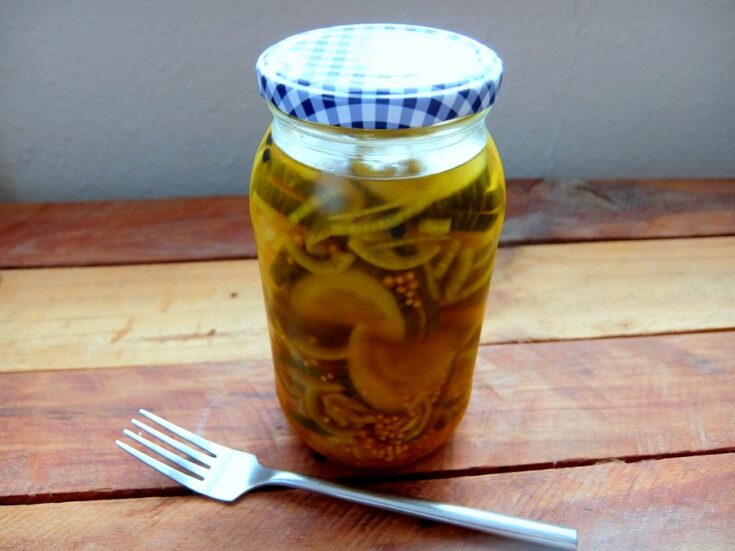
Bread & Butter Pickles
Perfect for sandwiches, subs and burgers. These bread & butter pickles are classic and should be in your fridge at all times.
Ingredients
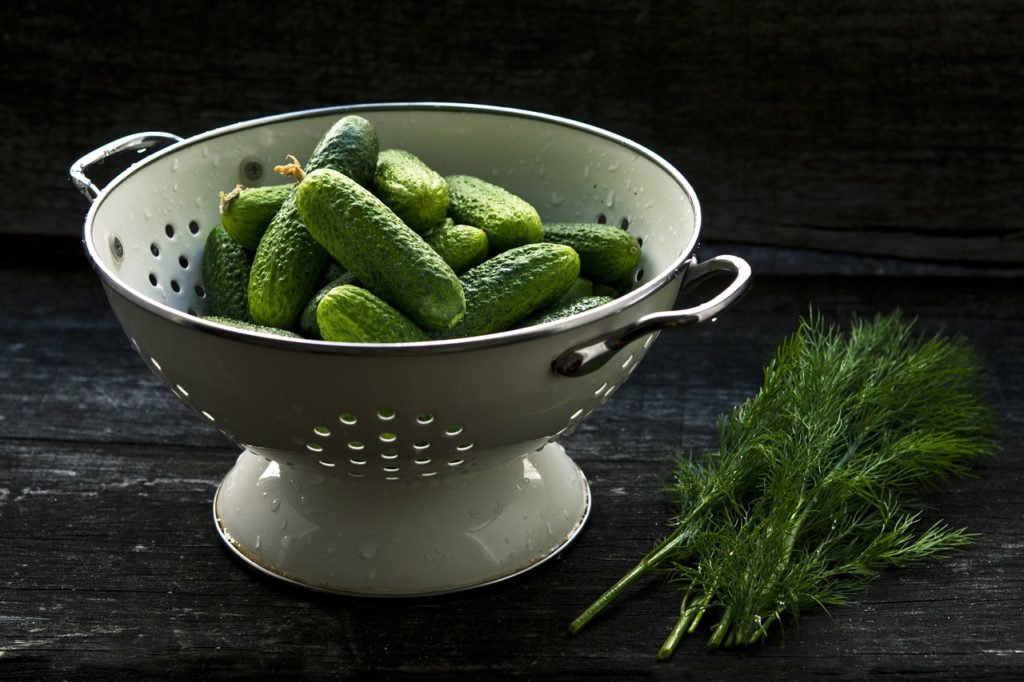
- 700g Cucumbers
- 600g Onions
- 3 tbsp Salt
- 750ml White Vinegar or Cider Vinegar - 5% acidity
- 400g White Sugar
- 2 tsp Tumeric
- 1 tbsp Mustard Seeds
Instructions
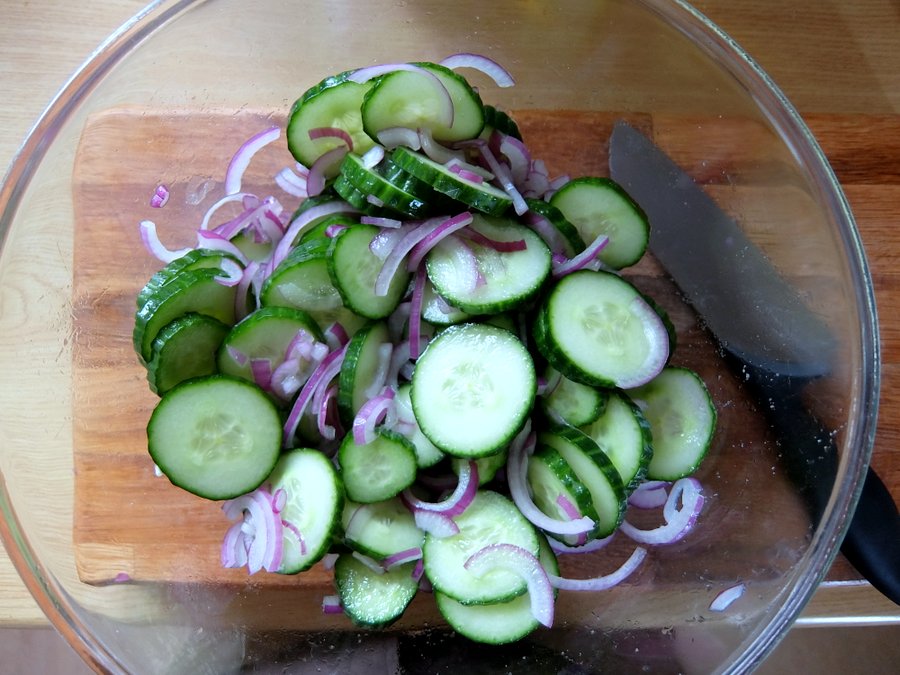
- Take the washed cucumbers and slice them roughly 1/2 cm thick, slice the onions finely and combine with the cucumbers in a large glass or plastic bowl. Sprinkle with the salt and mix thoroughly.

- Cover and place in the refrigerator for at least 2 - 3 hours. You can leave them overnight if you wish.
- After at least 2 - 3 hours take the cucumbers out of the fridge. You will notice a lot of liquid will have been drawn out of the cucumbers. Drain the liquid and rinse the vegetables under cold running water. Taste a cucumber if it tastes too salty continue rinsing.
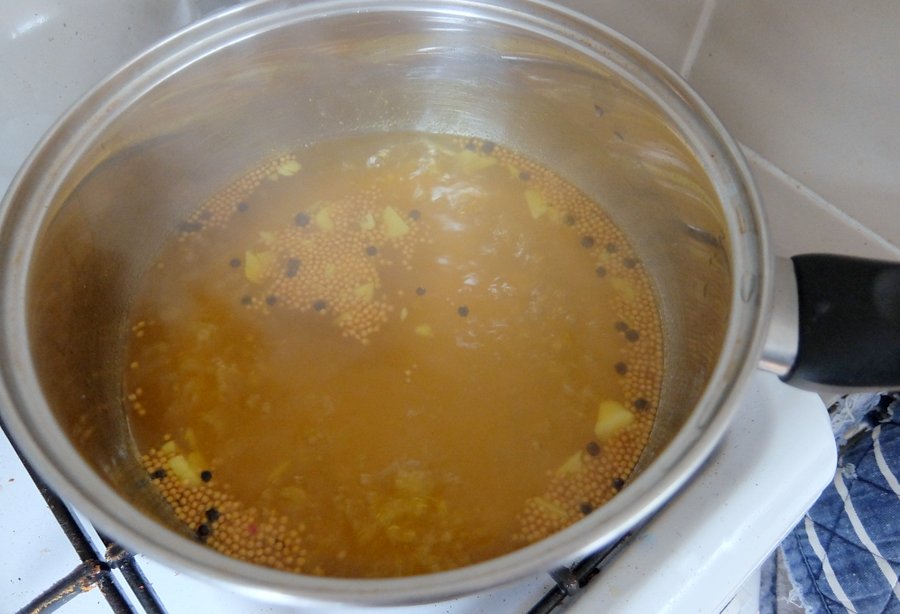
- Put the vinegar, sugar and spices into a preserving pan. Place on the heat and bring to a boil, simmer for around 10 minutes.

- Add the drained cucumbers and onions to the vinegar, bring to the boil for a moment and then remove from the heat.
- Package the bread and butter pickles into hot, sanitised jars (read below for the method of sanitising jars) seal immediately. You can eat the pickles immediately or refrigerate the pickles for up to 2 months.
Notes
These are refrigerator pickles that need storing cold. These bread and butter pickles will last 2 months in the fridge.
Nutrition Information:
Yield:
20Serving Size:
1Amount Per Serving: Calories: 105Total Fat: 0gSaturated Fat: 0gTrans Fat: 0gUnsaturated Fat: 0gCholesterol: 0mgSodium: 1049mgCarbohydrates: 25gFiber: 1gSugar: 22gProtein: 1g
Sanitising Your Pickle Jars
When making any pickles you will want to sanitise your jars. Whilst any acid like vinegar has preservative properties if the jar that you contain the pickles in is not sanitised there is a chance bacteria could spoil the contents. There is also the headspace of the jar that is not in contact with vinegar that needs to be sanitised of bacteria, moulds or yeast that could develop otherwise of the course of months or years.
A simple step that doesn’t take long can prevent this from happening.
There are a couple of ways you can sanitise your pickle jars, some people boil them in water which is ok but I find the best way is to sanitise them in the oven.
Here is the process for sanitising your preserving jars in the oven:
1. Clean the jars scrupulously in soapy water and rinse well with warm water to remove any soap residue.
2. Place the cleaned jars on a baking sheet and place in an oven that has been heated to 140°C (280°F) gas mark 1. Leave in the oven to dry completely and turn the heat off.
3. The lids can be sanitised at the same time as the jars, however, Kilner jars that have rubber seals will need the rubber removed before sanitising as they will perish. Boil any rubber seals separately to sanitise.
4. Pack the jars with your pickles whilst still hot. Remove any air bubbles and seal. It is important the contents and jar are still hot so a good seal can be formed.
Thank you for the informative and helpful post on how to make my own bread and butter pickles! I’ve been wanting to for some time now and this seems like a great place to start. The pictures are super helpful! Can’t wait to have my own jar for my family and I to enjoy. Thank you for your recipe!
Glad you like the post Billy. Hope the pickles turn out great!