Fermented vegetables as a means of preserving has been practised for 1000’s of years. It is by no means a new way to process food to increase its shelf life and make it extra flavorful. It is also extremely easy to do and all that is required is a few basic pieces of equipment and a little time and patience.
There are many benefits to fermented foods with many people giving them “superfood” status, the most important thing to us at Preserve & Pickle is that they taste absolutely great and completely unique. Our motto is that if it doesn’t taste great then it isn’t worth doing so you can be sure that if you follow our guide then you will have vegetables to put away in the pantry that will make your mouth water.
Table of Contents
Fermented Vs. Pickled
Fermented vegetables and pickled vegetables are really one and the same thing. Pickling vegetables is a means of preserving using an acid. The source of the acid is where a difference lies between some pickles.
Many pickles that you buy in the supermarket are not fermented but rather use commercially produced vinegar as a means of preservation, the acidic vinegar is the preservative. This is a great way to pickle vegetables and something we do all the time here at Preserve & Pickle, however, fermented vegetables are slightly different.
Fermented pickles are preserved with acid created via lacto fermentation. Lactobacilli are a bacteria found on the surface of vegetable that under the right conditions will create lactic acid. Lactic acid fermentation is what preserves the vegetables.
The Basics of Lacto Fermented Vegetables
Acidic environments make it extremely difficult for bacteria to grow or survive. Bacteria is one of the reasons why all fresh foods we buy will eventually spoil, by inhibiting bacterial growth we can stop the food from spoiling. This principle is what all food preservation is about and the key to lacto fermented vegetables.
When we ferment vegetables we create an environment that suits one particular species of bacteria, Lactobacillus. Lactobacillus begin to reproduce and thrive and out-compete all the other bacteria present. They do this by feeding on the natural sugars present in the vegetables being preserved.
This process of reproduction and growth is called fermentation and the byproducts of lacto fermentation are carbon dioxide, ethanol and lactic acid. The lactic acid lowers the pH of the vegetables and brine which stops other bacteria, mould or wild yeasts from surviving.
Salt: A Key Ingredient In Preserving Fermented Vegetables
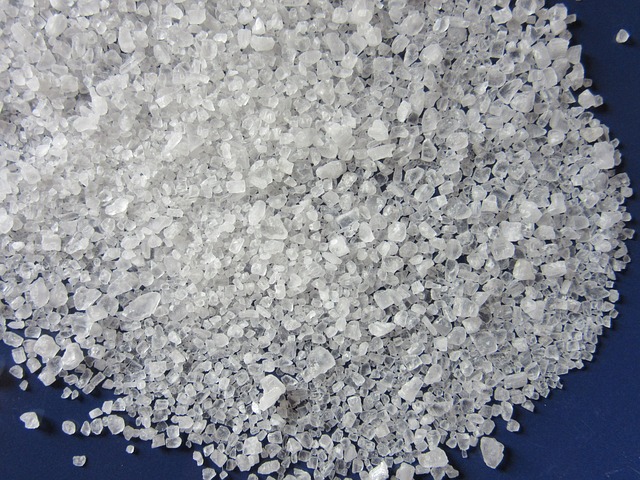
Salt is the catalyst for creating the environment ideally suited to lacto-fermentation. Whilst most bacteria cannot grow in an environment that has higher levels of salt, Lactobacillus can. This means during the initial phase of preserving vegetables via fermentation the vegetables won’t be spoiled by bacteria because they cannot get a foothold in this saline environment.
Type of Salt Needed
Regular table salt is all that is required, you can also use sea salt or salt flakes/rock. It is best to use non-iodised salt as iodised salt can inhibit lactic acid bacteria which we want to ferment the vegetables.
There are two main ways salt is used to ferment vegetables, either;
Dry-Salting – Sprinkling salt directly on the surface of the vegetables
or
Brine – A salt solution that the vegetable is added to
Some vegetable ferments are dry-salted and use salt that is sprinkled onto the surface of the vegetable. Cabbage for example that is fermented to make sauerkraut uses around 1 – 2 tablespoons of salt per head of cabbage. The salt is worked into the cabbage leaves and draws out water, it is in this salty liquid that the lactobacillus and grow and begin fermenting the cabbage leaves.
Brines work in the same way but being a liquid. Brines usually range between 2% – 5% salt by weight. As an example to make a 2% brine you would add 20 grams of salt to 1 litre of water (0.3 ounces of salt in 1 quart of water).
The Amount of Salt Is Important
The amount of salt required when preparing to ferment vegetables is important. Too little salt and bacteria or mould can still grow on the vegetables and possibly spoil them, too much salt and fermentation can go very slowly or nothing at all can grow not even the Lactobacillus we want to ferment the vegetable and preserve them.
Most recipes you encounter will have the appropriate amount of salt listed in the ingredients so it is important to follow these recipes. Whether that is a brine solution or the amount to add directly to the vegetables. Variables like texture and water content can play a part in the amount of salt required so some experimentation may be needed until you get a feel for the quantities.
Lacto Fermentation Preserves Vegetables
The first preservative action on the vegetables is the salt, this prevents bacteria, yeast or mould from spoiling the vegetables in the first instance. The next stage of preservation is the fermentation by lactic acid bacteria. Lactic acid producing bacteria or LAB that are naturally found on the surface of vegetables will reproduce and begin fermenting the vegetables.
Lactic acid bacteria consume natural sugars from the vegetables and a byproduct of this is lactic acid. The lactic acid lowers the pH of the ferment and this acts as a preservative. An acidic environment prevents mould or bacteria from growing and thus preserves the vegetables.
At the same time, fermentation transforms the vegetable. The texture and flavour alter considerably and become quite delicious. A combination of salt and acid is familiar to almost everyone who has ever eaten a pickle and is something that really is uniquely flavoured.
What Equipment You’ll Need To Ferment Vegetables
It doesn’t require a lot of gadgets or paraphernalia to start fermenting vegetables and creating some delicious pickles, just some simple containers, kitchen utensils and a little bit of patience.
Here is what we recommend you’ll need:
Jars / Crock: This is really the primary thing you will want.
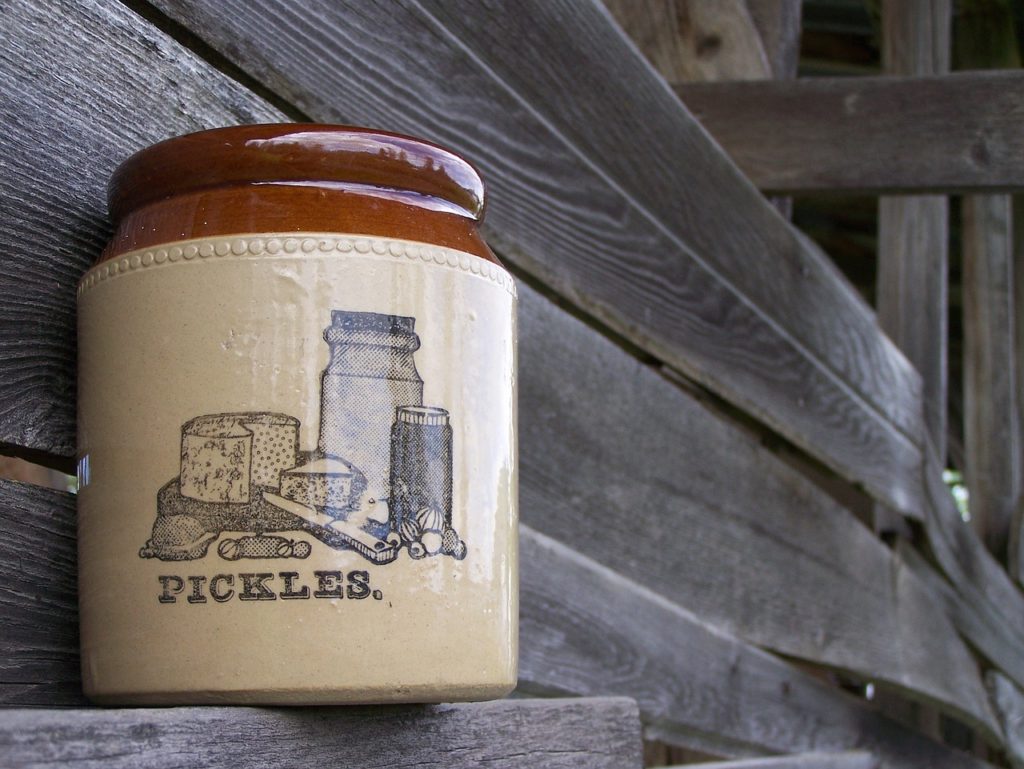
Some people prefer to use crock pots that are made from clay and have a heavy lid. The lids allow gases from fermentation out but are heavy enough to keep air from getting in.
Other wide mouth jars that have an airlock attached to allow the carbon dioxide created by LAB to be released. It is also not completely necessary to have an airlock as long as you vent the jar during the period of fermentation whilst CO2 is being produced.
Both options are fine and achieve the same end result
Fermentation Weights: It is important to keep your vegetables submerged during fermentation. Some vegetables have a tendency to float so a small weight in the mouth of the jar will keep your produce submerged. These fermentation weights can be fashioned depending on the size of the jars opening from a small plate or purpose made weights can be purchased.
Wide Mouthed Funnel: This is not strictly necessary but it can help getting lots of shredded cabbage or root vegetables into jars.
Mandolin/Slicer: This is a great utensil to have in the kitchen anyway but makes preparing vegetables for fermentation so much easier. This is highly recommended if you want to get into fermenting vegetables.
Food Processor (optional): Many recipes will require vegetables to be shredded, pickles like sauerkraut if produced in much quantity can be made a lot faster with a shredding attachment on a food processor, this is a luxury, however.
Basic Fermented Cabbage / Sauerkraut
This basic Sauerkraut recipe is the most basic recipe you can use to start your fermented vegetable journey. It is with simple recipes like this that you can move on from and begin customising later on and create your own interpretations.
The Ingredients for This Sauerkraut are:
1 Cabbage head 1.2kg (approx.)
11/2 tablespoons Salt (approx.)
That is all that is needed. It really is that simple, what happens to the fermented cabbage completely transforms the texture, flavour and the colour, it really is amazing what happens when you ferment vegetables to preserve them.
All you will need for this basic fermented cabbage is:
Mixing bowl
Knife or Food Processor with Shredder
Fermenting Jars / Mason Jars / Crock
Fermentation weight (optional)
To begin, make sure all the equipment you are using is really clean and rinsed of all soap residue. This is important as we want the cleanest environment possible for fermentation to begin in.
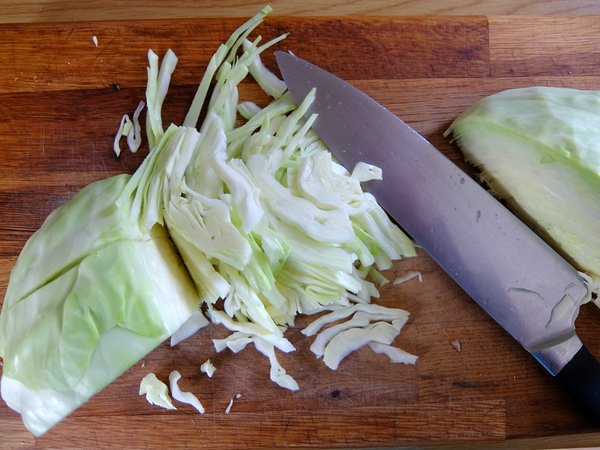
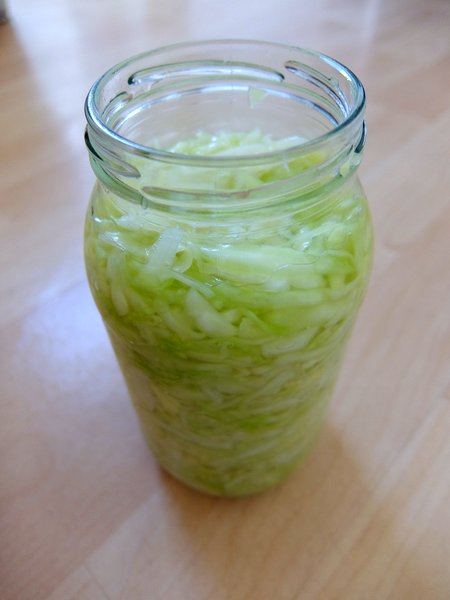
1. Remove the old outer leaves from the cabbage, cut in half and take cut out the core. Slice or shred the cabbage fairly thinly. I prefer my sauerkraut thinly sliced but if you prefer you can shred the cabbage a little coarser, it is personal preference, thinly sliced cabbage does appear to start lacto-fermentation slight quicker but the size won’t affect the finished cabbage.
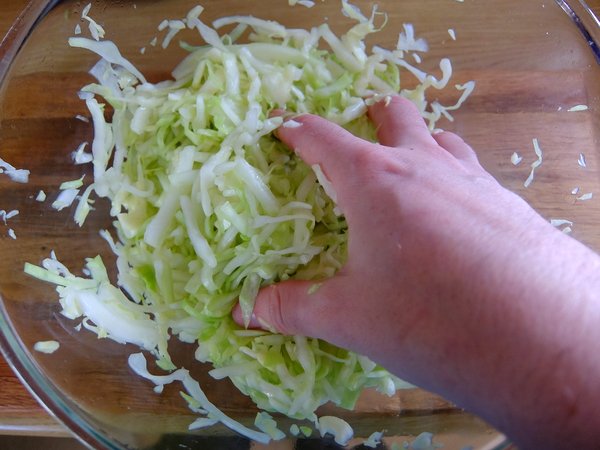
2. Add the cabbage to the mixing bowl and sprinkle the salt on, begin to massage the shredded cabbage and the salt together. You will find the after a few minute water starts pooling in the bottom of the mixing bowl. This is the salt drawing the water out and making a brine. The idea here is to thoroughly mix the salt and cabbage so there is no extra salt spot. You can leave the cabbage for around 10 – 15 minutes, tossing and mixing every now and then and you will have a good amount of brine coming out of the cabbage will have visibly shrunk.
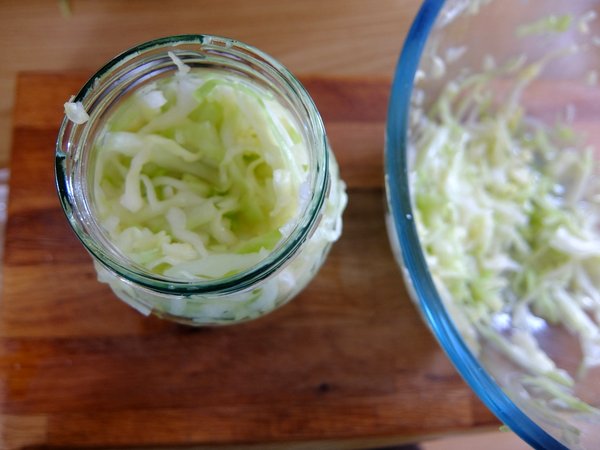
3. After 10 to 15 minutes have elapsed with periodic massaging there should be plenty of brine in the bottom of the bowl. It is now time to pack the cabbage and the brine into a jar. Fill the jar a couple of inches from the top. The goal here is to completely submerge the cabbage in the brine.
4. If there is not enough brine you can make some by mixing a cup (230 ml) of water with 1.5 teaspoons of salt. We want to keep the cabbage submerged throughout the period of fermentation, this is important, if you are not using fermentation weights you can fill a freezer bag with the remaining brine and use it as a weight on top of the cabbage to keep it submerged.
5. Pack down the cabbage and add fermentation weights, if using, if not use a small freezer bag filled with brine (see above) to keep the cabbage completely submerged.
6. Cover the jar or crock with a lid. If you are using an airlock then fill it with water. Fermentation produces carbon dioxide if you completely seal the jar pressure will build up inside. Cover the jar make sure gas can vent out if need be some people cover the jar with a cloth but placing a lid on loosely will accomplish the same thing.
7. Leave the Sauerkraut to ferment at room temperature (18°C – 24°C / 65°F – 75°F) this is an organic process, I recommend between 5 – 10 days but you can leave it for several weeks if you wish. Try tasting every few days to check the progress, generally the longer you leave the kraut the more acidic it will get. Make sure as the cabbage ferment it remains submerged, bubbles may form in the sauerkraut, this is absolutely fine and a sign of good fermentation.
8. Once you are happy with the level of acidity you can transfer the sauerkraut to the fridge, this will slow the fermentation if it hasn’t already finished. Sauerkraut will last for several months in the fridge
Sauerkraut Tips
- Keep the fermenting vegetables submerged at all time. Lacto fermentation is an anaerobic process keeping the cabbage in brine is what preserves it.
- Taste and smell frequently. Fermentation is a craft and take a little practice, tasting and smelling is good way to keep tabs on the process and let you know what is going on in your fermenting vegetables
- Make sure everything that comes into contact with the fermented vegetables or sauerkraut is clean. We don’t want to introduce bacteria that isn’t encouraging lacto-fermentation.


My wife and I are interested in canning and food preservation. We just read about fermentation in a magazine and it sounds interesting.