Drying herbs is a great way to extend the life of a large harvest or to save unused herbs so that they can be used later. It is also very simple to do, in this post we will take a look at some of the ways we can dry herbs, what herbs are good for drying and what you need to be able to do it.
In many cases if you grown your own herbs it can make sense to dry a certain portion of them. Some herbs can get a little unruly in the garden and need cutting back fairly frequently. Drying these herbs means that whilst maintaining the plants you can preserve them for use later on when the seasons change.
Dried herbs have many uses in the kitchen and make although some of the aromatics are lost in the drying process they still add plenty of flavour to dishes. Herbs have always been dried as a means of preservation and you will still find many kitchens throughout the world where herbs are hanging in order to dry them so that they can be stored for use in the future.
Table of Contents
Preserving Herbs By Drying
Out of all the ways in which we like to preserve food drying herbs has to be one of the easiest, most beginner friendly ways to start preserving food.
The key to this is that most herbs contain very little water, that makes drying them out very easy even if conditions are perfectly suited. Herbs will dry in most homes as long at the area where you are drying them is well ventilated. This is what makes drying herbs so simple.
Which Herbs Dry Well?
It must be said that some herbs dry better than others. Freshly picked herbs have a vibrancy that can be lost during the drying process so choosing the best herbs to dry is the key to maintaining quality.
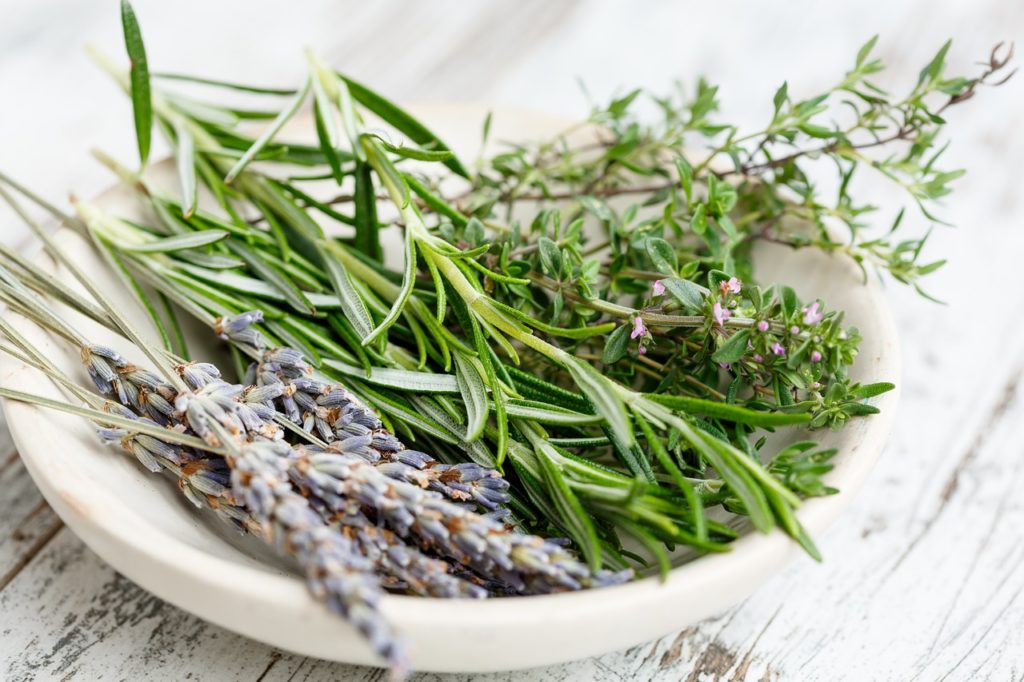
In general the woodier herbs tend to dry well, herbs such as;
- Rosemary
- Thyme
- Mint
- Oregano
- Marjoram
- Bay
Herbs that can be dried but lose some of their aromatic qualities tend to be greener leafier herbs such as;
- Basil
- Coriander
- Chives
- Dill
- Chervil
If you happen to have a large harvest of herbs that you feel might not dry well then you have other options for preserving them. Herb butters, vinegar’s, oils or simply freezing will also preserve them whilst maintaining their fresh qualities.
Harvesting And Preparing Herbs For Drying
When you cut herbs or buy them you will want them to contain the maximum amount of essential oils as possible, this makes the herbs taste and smell better.
This point occurs in most leafy herbs just prior to blossoming. woody herbs can be cut up to 4 times in during the growing season.
If you are cutting your own herbs it is best to wait until a sunny morning, wait until any moisture or dew that formed overnight has evaporated and then snip the herbs. In most cases you will not need to wash your herbs, washing will actually remove some of the flavourful oils. If they are dusty or dirty though wash the herbs briefly, shake off the excess moisture and then hang them in small bunches to dry off in a warm spot.
Herb Drying Tools
You really do not need a lot to dry herbs, in fact you only really need a piece of string and somewhere suitable to hang the herbs as they dry. You can make herb dry easier with a few tools of the trade and make drying a little more efficient, so take a look at some of these options.
Herb Drying Rack
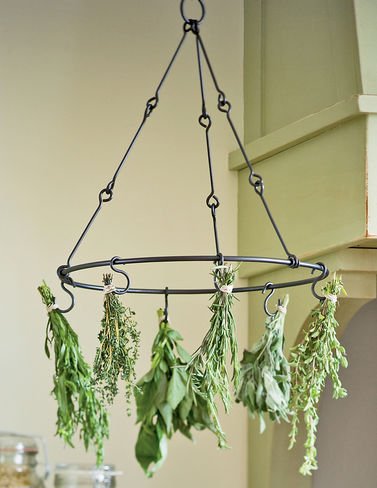
As I mentioned, you don’t really need a herb drying rack to dry your own herbs but it does look great, I have one hanging in my kitchen permanently and it does a good job of saving space and ensuring free flow of air around the herbs as they dry.
Herb Drying Net
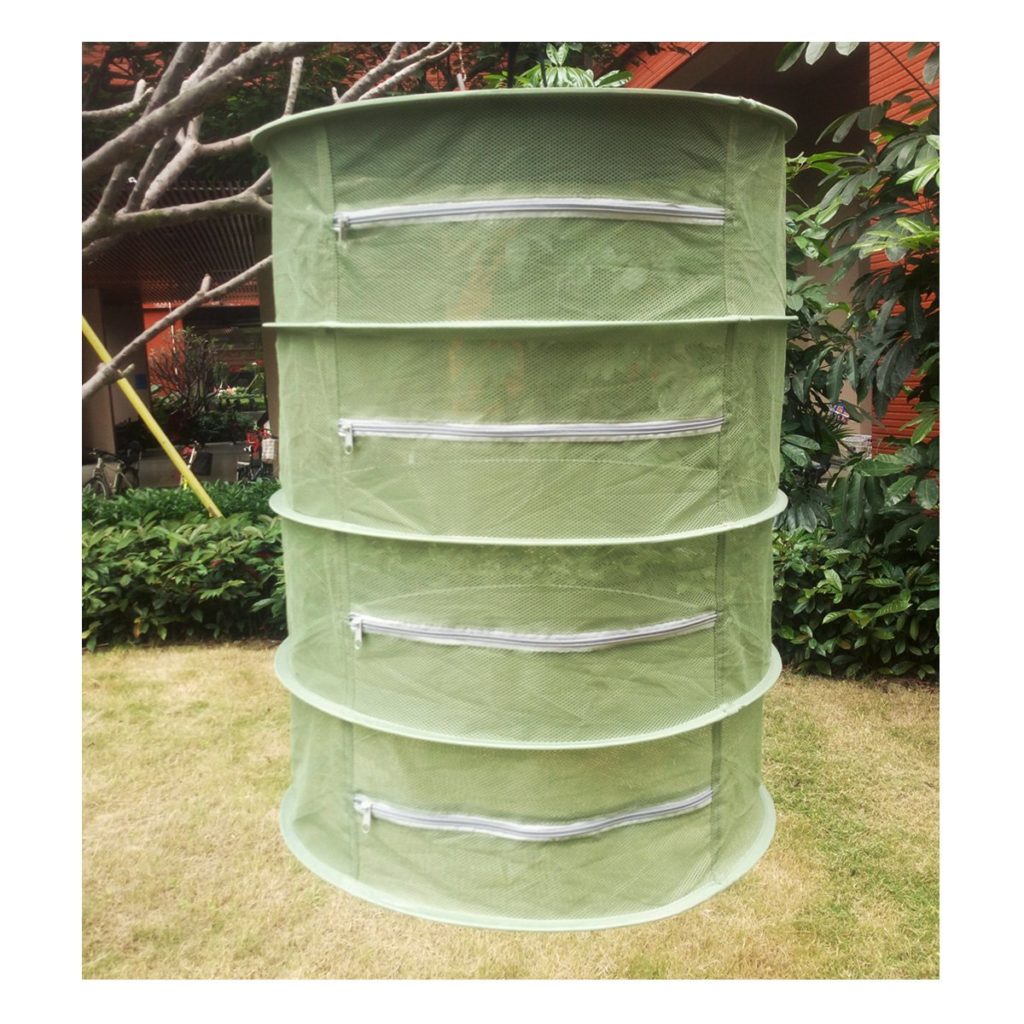
If you have a lot of herbs harvested and ready for drying then these collapsible nets enable you to dry herbs in bulk. At the same time the mesh construction keeps away dust and insects. It also provides a little shade from the sun if you wish to dry the herbs outside.
Air Drying Herbs – The Best Way To Dry Herbs
We recommend air drying as the best way to dry your herbs as we feel it preserves the flavour and colour of the herbs the best out of all the methods.
Most herbs contain very little water so air drying them doesn’t require much heat, it is more of a case of air flow. Water will evaporate from the leaves of the herbs at room temperature as long as the herbs have free flowing air circulate around them.
Hanging the herbs from herb drying hanger is perfect for this.
Tie the herbs into bundles with string or rubber bands and hang them upside down from a hanger. Hanging them upside down ensures the essential oils remain in the leaves making the dried herbs more flavourful.
Traditionally air dried herbs were hung on the mantelpiece of kitchen fireplaces where the air was warm but not hot. Hanging your own herbs above a radiator will have a similar effect and ensure there is good airflow as the heat creates air current.
For best results make sure the air temperature remains below 105°F / 40°C, this is of course unlikely to happen in most homes.
If you are using a mesh hanging bag then lay the herbs out sparsely to ensure there is plenty of space around the leaves for air to dry the herbs.
How Long Do Herbs Take To Air Dry?
This method of drying herbs should not take too long at all, just a few days and the leaves will be noticeably dry and crisp.
To ensure you retain the best flavour it is a good practice to leave the dried herbs whole until you are ready to use them. Just before you are ready to use your herbs you can break them up into whatever dish you are preparing. Crushing the leaves before storing them will release oils that are full of flavour.
Storing Dried Herbs
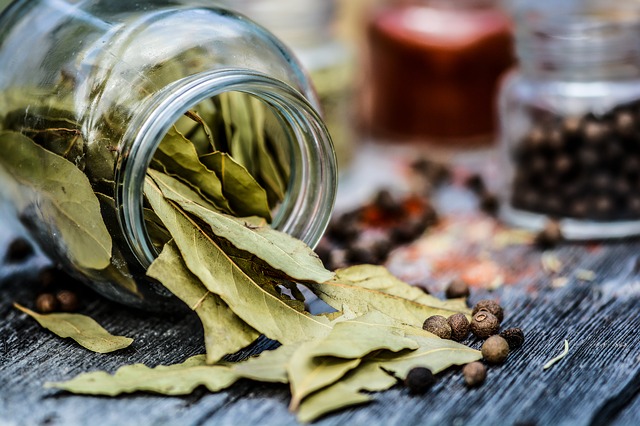
You will want to store dried herbs in a sealed container, away from moisture and ideally in a dark place such as a cupboard. Jars make a good container as they are clear and can be easily labelled so you know what herbs are inside.
There are dedicated containers for dried herbs available online with lids that have holes in so you can sprinkle the dried herbs straight from the jar.
